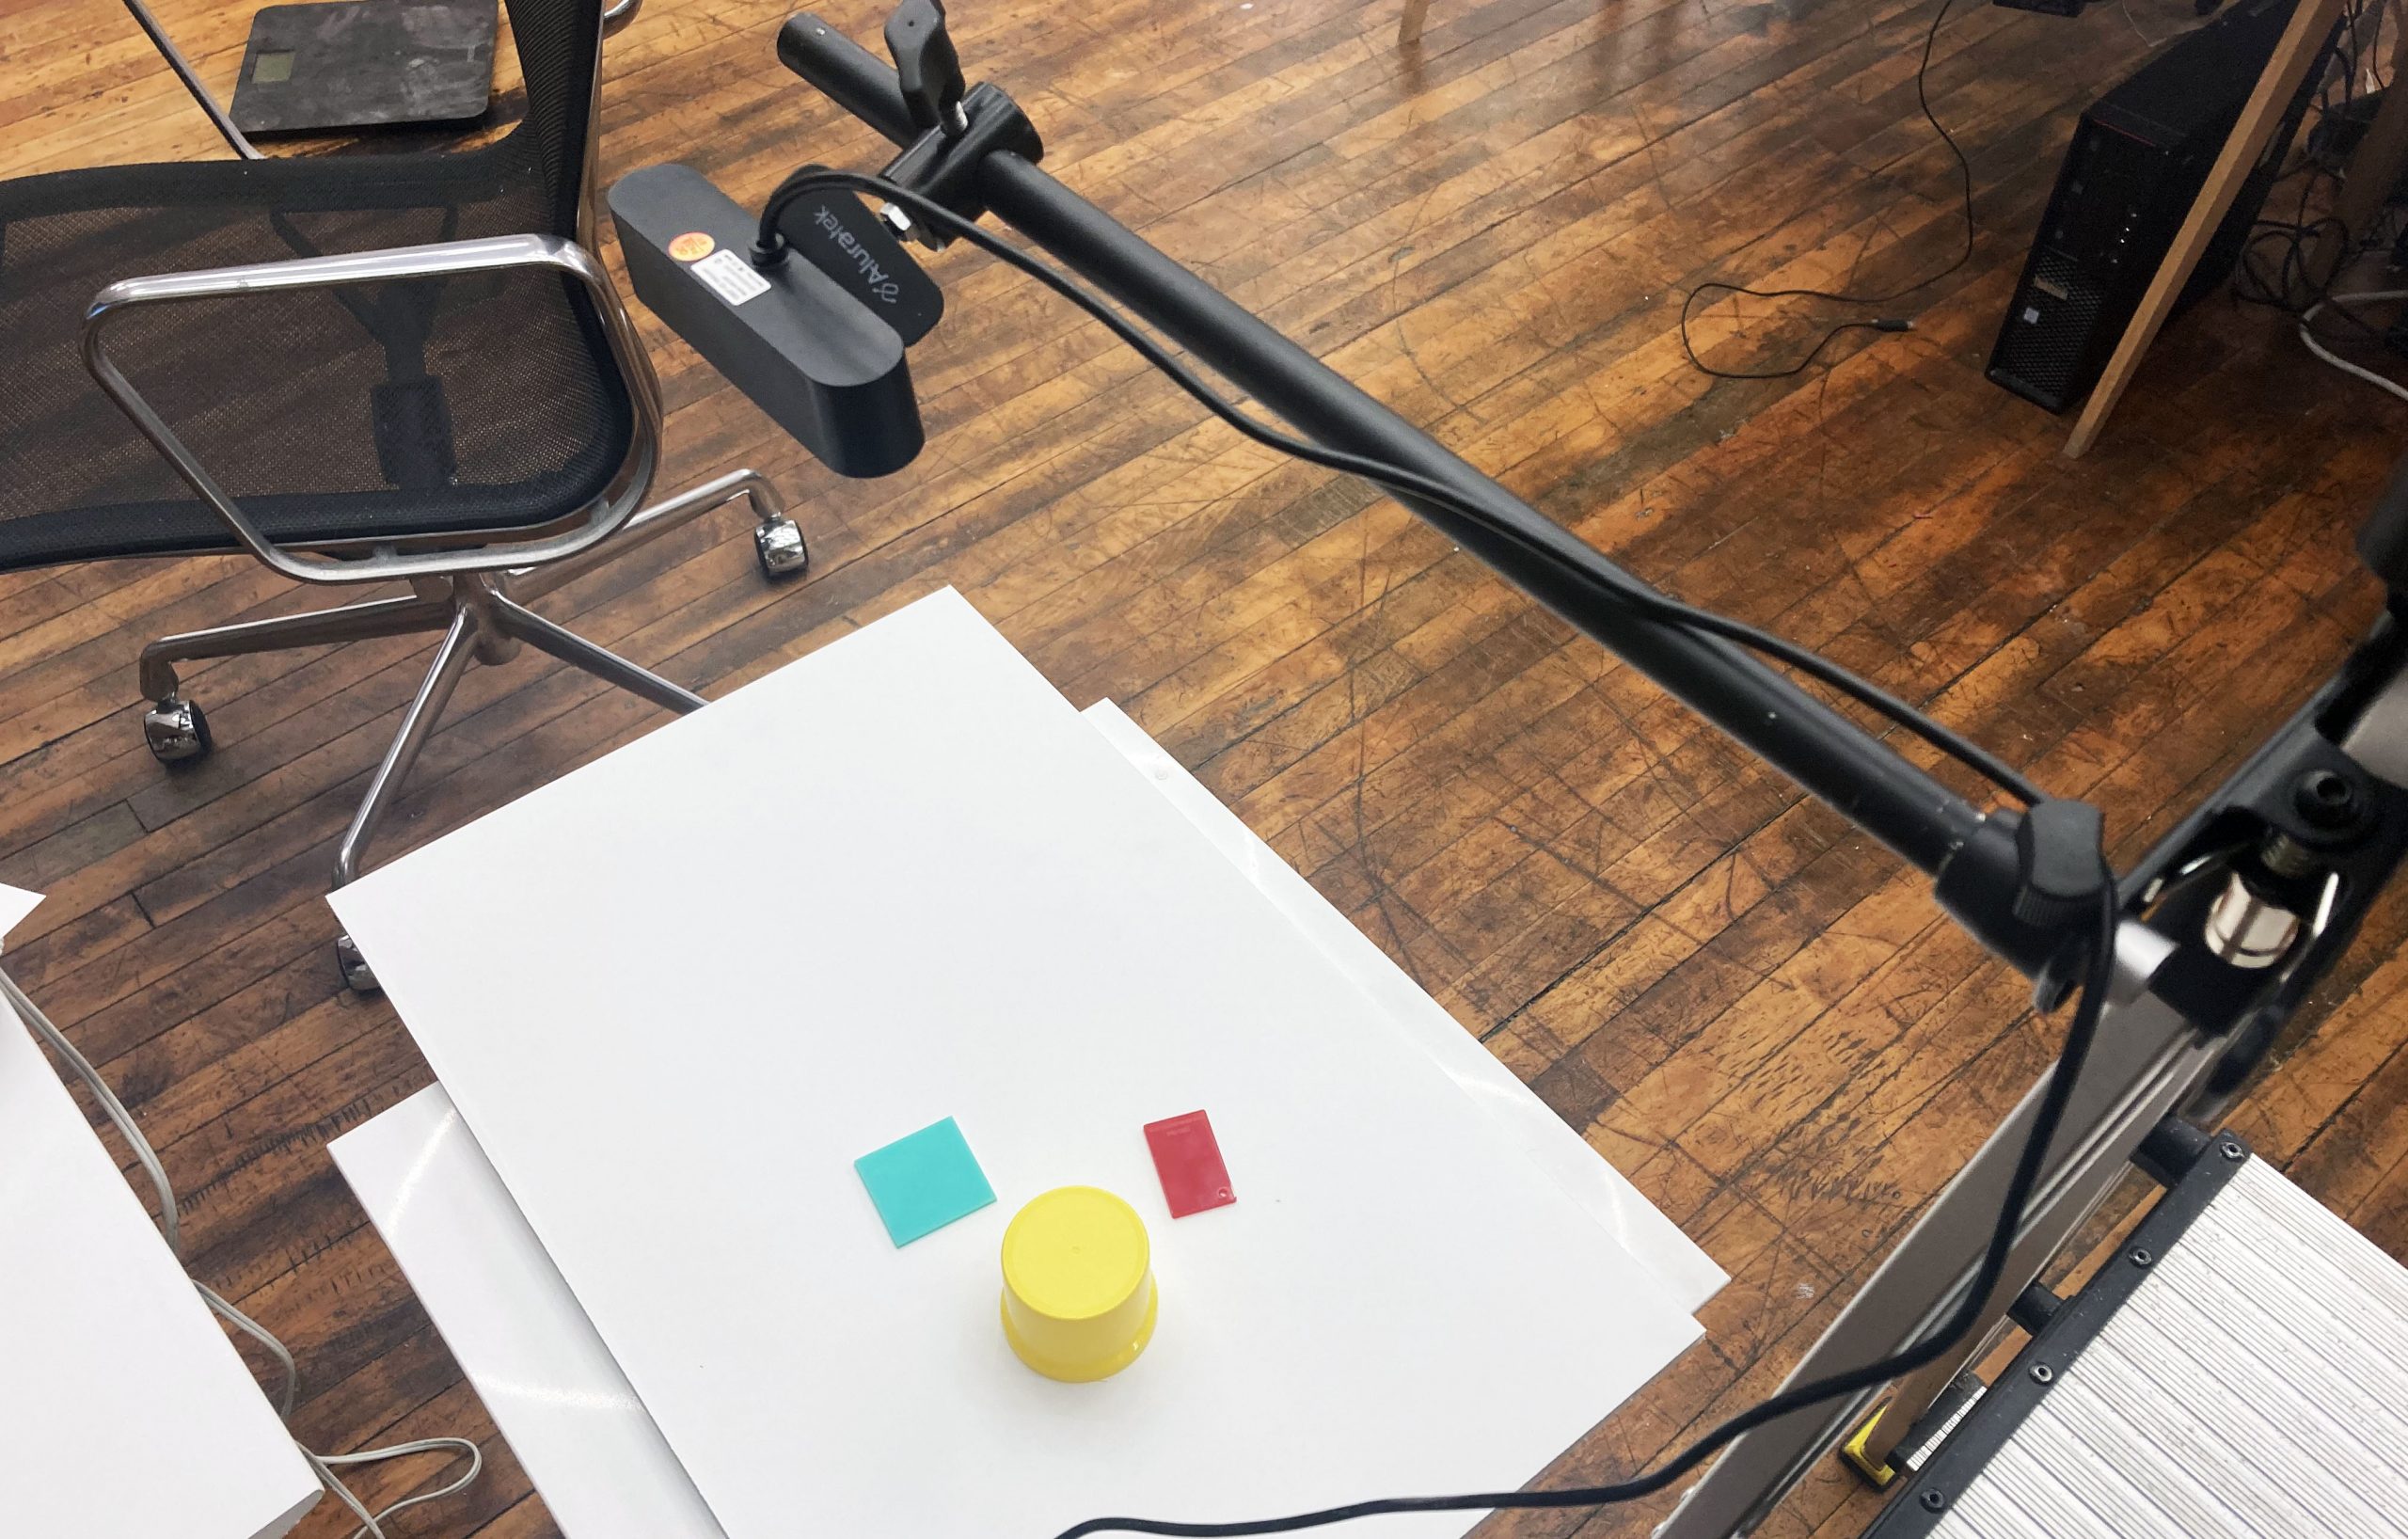
You can capture video live from a video camera with processing and analyze each frame in the same way you would a single image. The below example uses the processing video library. It is base don the example on the processing website with the one exception: we are placing the video capture in a PGrpahics element so we can sample that specifically rather than the sketch.
The first thing in the sketch is importing the library, declaring a capture object, and a PGraphics object to hold the capture.
import processing.video.*;

Capture cam;

PGraphics video_holder;
You start the capture process in the setup. The main thing to keep in mind here is you may have more than one camera and each of those cameras have a number of aspect ratio and frame settings. You need to tell the capture object which camera and setting you would like it to capture. The first thing you need to do is get a list of these options so you can pick the right one. If you aren’t sure about your camera settings the first thing you need to do is load the camera list into an array. If the list length is 0 you don’t have any functioning cameras. If not the code below prints a list of the camera options to the console and then you enter the index of the camera option you would like to use.
void setup() {
  size(640, 480);

  String[] cameras = Capture.list();

  if (cameras.length == 0) {
    println("There are no cameras available for capture.");
    exit();
  } else {
    println("Available cameras:");
    for (int i = 0; i < cameras.length; i++) {
      println(cameras[i]);
    }

    // The camera can be initialized directly using an
    // element from the array returned by list():
    cam = new Capture(this, cameras[4]);
    cam.start();

    video_holder = createGraphics(width,height);
  }
}
The only thing you need to do is place the captured video into your PGrpahics object and then place that object in the sketch. The video will automatically update with each frame.
void draw() {

  if (cam.available() == true) {
    cam.read();
  }

  video_holder.beginDraw();
  video_holder.image(cam, 0, 0);
  video_holder.endDraw();
  image(video_holder,0,0);
}
This example is basically the same as the image processing example from last week except we have replaced the image to be sampeld with a video capture.
import processing.video.*;
import controlP5.*;

ControlP5 cp5;

PGraphics image_holder;

int w = 640;
int h = 480;

Capture cam;

int pixel_size = 5;

void setup() {
  size(640, 480);

  String[] cameras = Capture.list();

  image_holder = createGraphics(w, h);

  // The camera can be initialized directly using an
  // element from the array returned by list():
  cam = new Capture(this, cameras[4]);
  cam.start();

   cp5 = new ControlP5(this);

  ///declare a slider with a range of 0 - 1200
  cp5.addSlider("pixel_size")
    .setPosition(40,40)
    .setRange(1,40)
    .setSize(200,20)
    .setValue(5)
    .setColorForeground(color(150))
     .setColorLabel(color(255))
     .setColorBackground(color(70))
     .setColorValue(color(0,0,0))
     .setColorActive(color(200))
     ;
}

void draw() {
  if (cam.available() == true) {
    cam.read();
  }
  image_holder.beginDraw();
  image_holder.image(cam, 0, 0);
  image_holder.endDraw();
  // The following does the same, and is faster when just drawing the image
  // without any additional resizing, transformations, or tint.
  //set(0, 0, cam);
   for(int x = 0; x < w; x++){
    for(int y = 0; y < h; y++){
      if(x%pixel_size == 0 && y%pixel_size == 0){
        color c = image_holder.get(x, y);
        noStroke();
        fill(c);
        rect(x,y,pixel_size,pixel_size);
      }

    }
  }
}